Quick answer
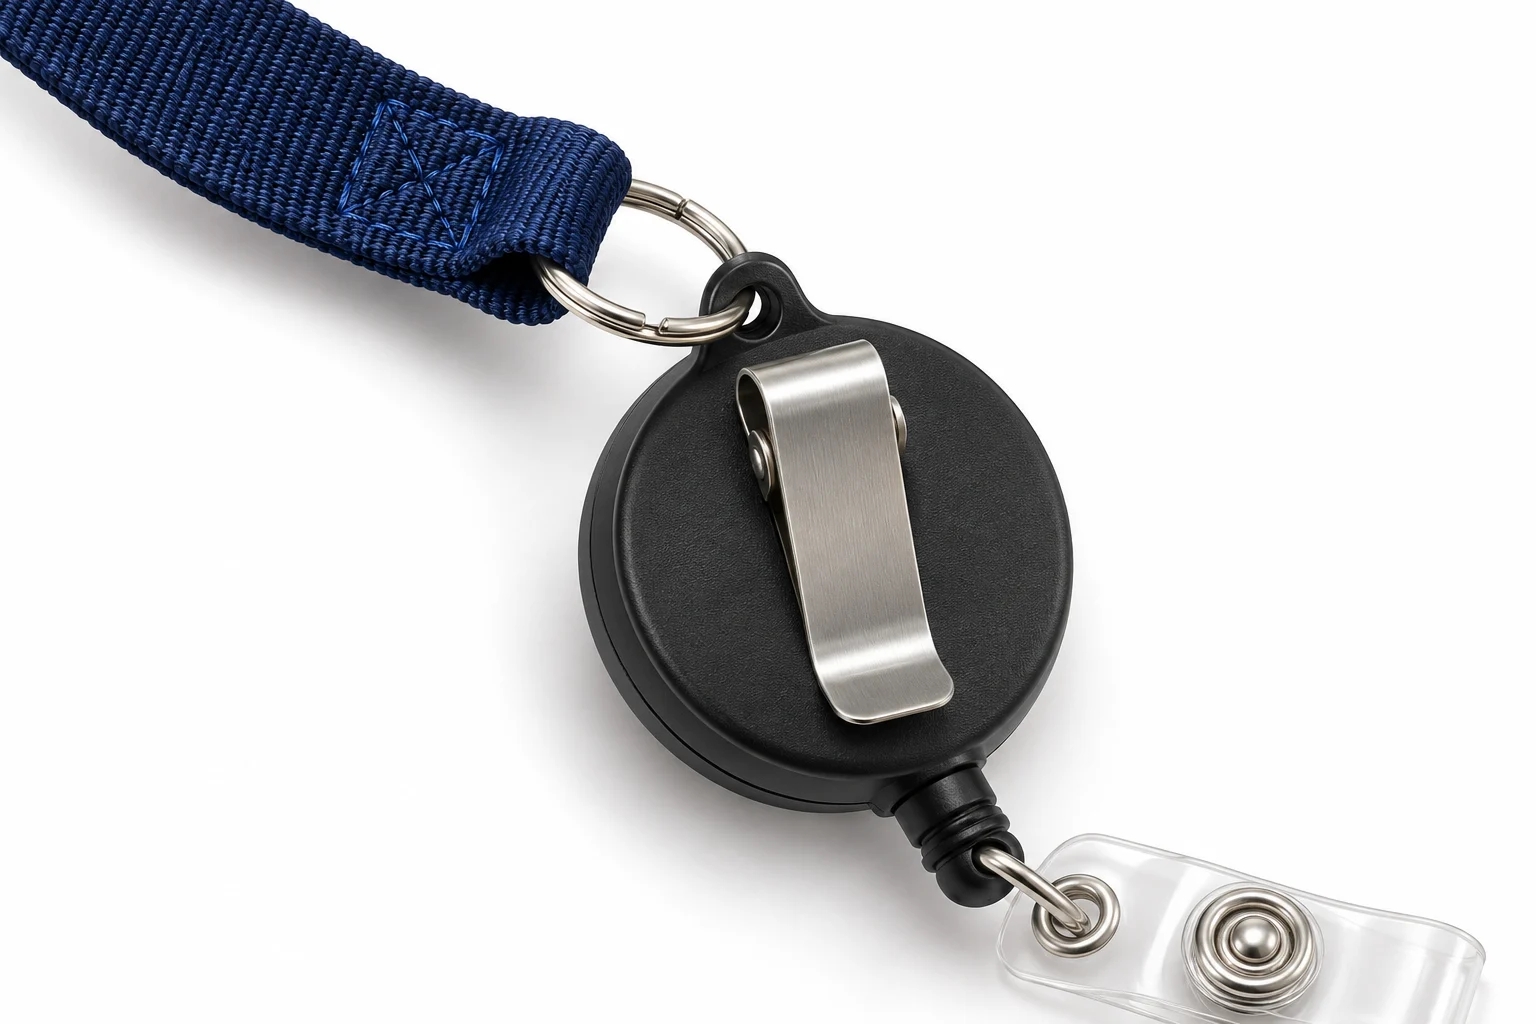
Connect the lanyard only to a mounting eye, slot or attachment intended for that exact badge reel. Match the connector’s opening, thickness and closure to that interface, then approve the assembled sample with the intended holder. A rear clothing clip is a separate mounting option; it is not automatically a lanyard attachment. The clear lower badge tab normally serves the badge or holder, not the neck strap.
A reel can look compatible from the front while having no suitable attachment on the rear. That is why a bulk buyer needs a rear-view photograph and an assembled reference, not just a logo proof. A Reddit teacher-lanyard discussion raises concern about a ring opening; a replacement-reel discussion describes a clip that does not suit the intended belt loop. Both are individual experiences, but they illustrate why connector fit deserves a place in a purchasing brief.
1. Identify the two connections before ordering
A lanyard-and-reel ID kit has at least two interfaces: lanyard to reel, then reel to badge or holder. Photograph them separately. The lanyard may end in a swivel hook, ring or fabric loop; the reel may have a mounting eye, slot or only a clothing clip. Below the reel, a tab or hook connects the ID holder.
A neck breakaway is another component again. It releases at a point on the neck strap; it does not identify how the reel is mounted. Likewise, a detachable buckle near the lower strap is not automatically a neck breakaway. Name each part by location and function when requesting a sample.
2. Compare the actual mating interfaces
| Proposed arrangement | What must exist on the reel | Check before approval |
|---|---|---|
| Ring or small hook to mounting eye | An eye intended for that attachment | Eye clearance, ring wire or hook thickness, closure and free movement |
| Fabric or cord loop through slot | A suitable slot with an approved threading route | Usable slot size, loop thickness, edge contact and retention |
| Rear clip on clothing | A clip designed for the garment or belt location | Opening, engagement depth and intended wearing position |
| Lower tab to badge holder | The reel’s badge tab or lower connector | Holder slot width, tab fit, snap closure and badge orientation |
Do not infer compatibility from the word “bulldog.” A bulldog-style clothing clip on a reel and a bulldog attachment on a lanyard may have different dimensions and purposes. For example, a manufacturer’s rear swivel-clip model is a specific construction, not evidence that every reel has a ring attachment.
A ring should close as designed and move without forcing, pinching the strap or interfering with the cord exit. A threaded loop must follow the approved route. Do not bend a clip, drill a housing or enlarge an eye to make mismatched parts fit. Ask for a compatible construction instead.
3. Measure usable openings, not only outer size
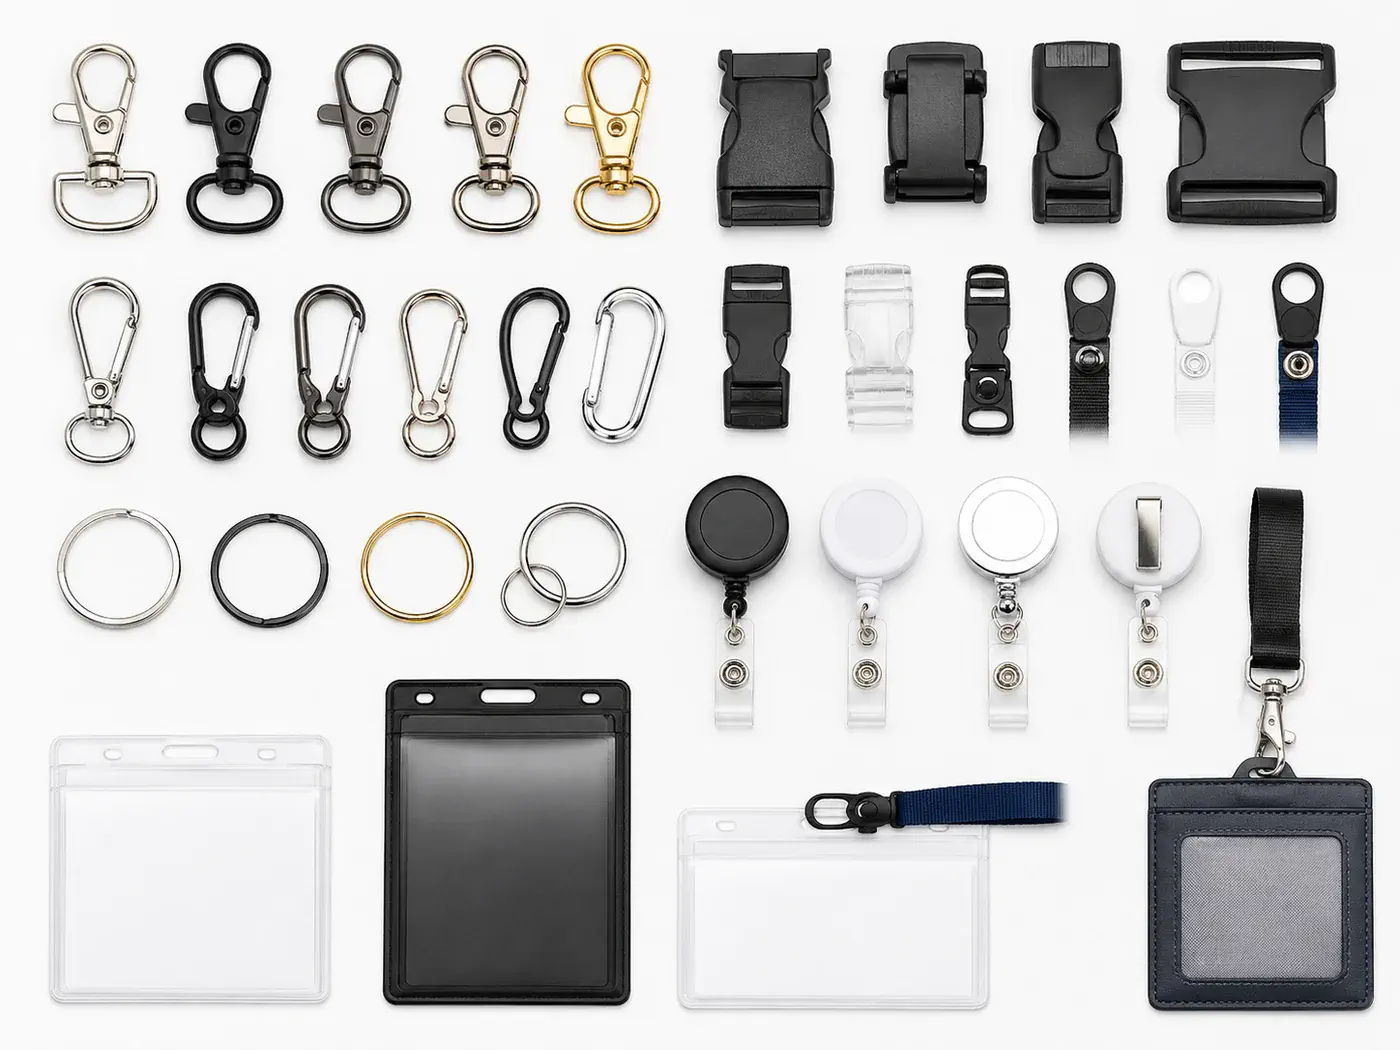
Request a dimensioned photograph showing the reel mounting point, lanyard connector and holder slot. For a ring-to-eye connection, compare the eye’s usable clearance with the ring wire thickness and installation path. For a hook, check the gate opening as well as the space available after the gate closes. For a loop, record both width and thickness; a flexible strap can still bind in a narrow slot.
The outside diameter of a ring does not reveal its inside clearance. Equally, a clip’s overall length does not show how deeply it engages clothing. Record the dimensions that make the two parts fit, and agree tolerances where fit is critical. Keep unconfirmed measurements out of the purchase specification.
Check the lower holder interface separately using the badge holder size guide or holder measurement template. Confirm portrait or landscape orientation and whether the holder rotates during normal use.
4. Approve one complete assembly before bulk production
- Request three views: front, rear and the full assembled wearing arrangement. Identify each connector in the approval notes.
- Assemble the intended ID kit: use the actual holder, card count and any additional items agreed for the sample.
- Check fit and movement: all closures should engage correctly, with no unintended contact against the cord exit. Confirm the card can reach the intended reader without changing the mounting route.
- Record the approved bill of materials: connector type, dimensions, finish, tab, holder and any breakaway location. Retain the approved sample and photos for production comparison.
This is an assembly-approval checklist, not a load rating or workplace safety certification. Confirm the employer’s rules for neck straps, mounting positions and detachable components. For cord wear and return-action questions after fit is established, use the badge reel failure-point checklist.
5. Send a brief that names the interface
A useful request says: “Please review a lanyard-to-reel kit using the attached front and rear photos. Confirm the mounting point, connector dimensions, holder slot fit and sample route. Quote the complete assembly and list any unconfirmed parts.” Add logo artwork, quantity per design, delivery destination and required arrival date.
Start with badge reel lanyards for a complete kit or lanyard hardware and accessories for component review. Custom production is generally reviewed from 500 pieces per design; selected standard constructions may qualify for a 100-piece trial after review. A custom-molded housing is a separate project. Final compatibility, availability and quantity need confirmation against the chosen construction.
Buyer questions
Can any badge reel be attached to a lanyard?
No. Confirm that the exact reel has a suitable mounting eye, slot or other supplier-approved attachment. A rear clothing clip alone does not establish compatibility with a lanyard.
Can I use the rear clip as a lanyard attachment?
Only if the supplier confirms that this is an intended mounting route and the assembled sample fits securely. A clip designed for clothing should not be assumed to retain a lanyard ring or loop.
Is the clear snap tab the lanyard attachment?
Usually it is the lower badge or holder connection on a retractable reel. Identify the actual reel design before ordering; the lanyard-to-reel mount and reel-to-badge connection are separate interfaces.
Review the complete badge reel kit.
Send front and rear reference photos, holder details, quantity per design and delivery requirements. Ask LANYVO to confirm the construction and sample route.
Request an assembly review ↗Sources and editorial scope
Community posts provide individual experiences and questions, not market-size estimates, verified failure statistics or endorsements. Manufacturer references describe that manufacturer’s models; their specifications do not apply to LANYVO. The checklists above are proposed purchasing checks, not reported test results.
- Reddit: ring-closure concern in a custom teacher lanyard
- Reddit: replacement reel rear clip does not fit the intended belt loop
- KEY-BAK: example of a rear swivel clothing clip
Prepared for LANYVO bulk buyers and distributors. The cover is an AI-generated product illustration, not a photograph of an approved sample. Confirm final parts, dimensions, workplace suitability and acceptance criteria against the approved sample.