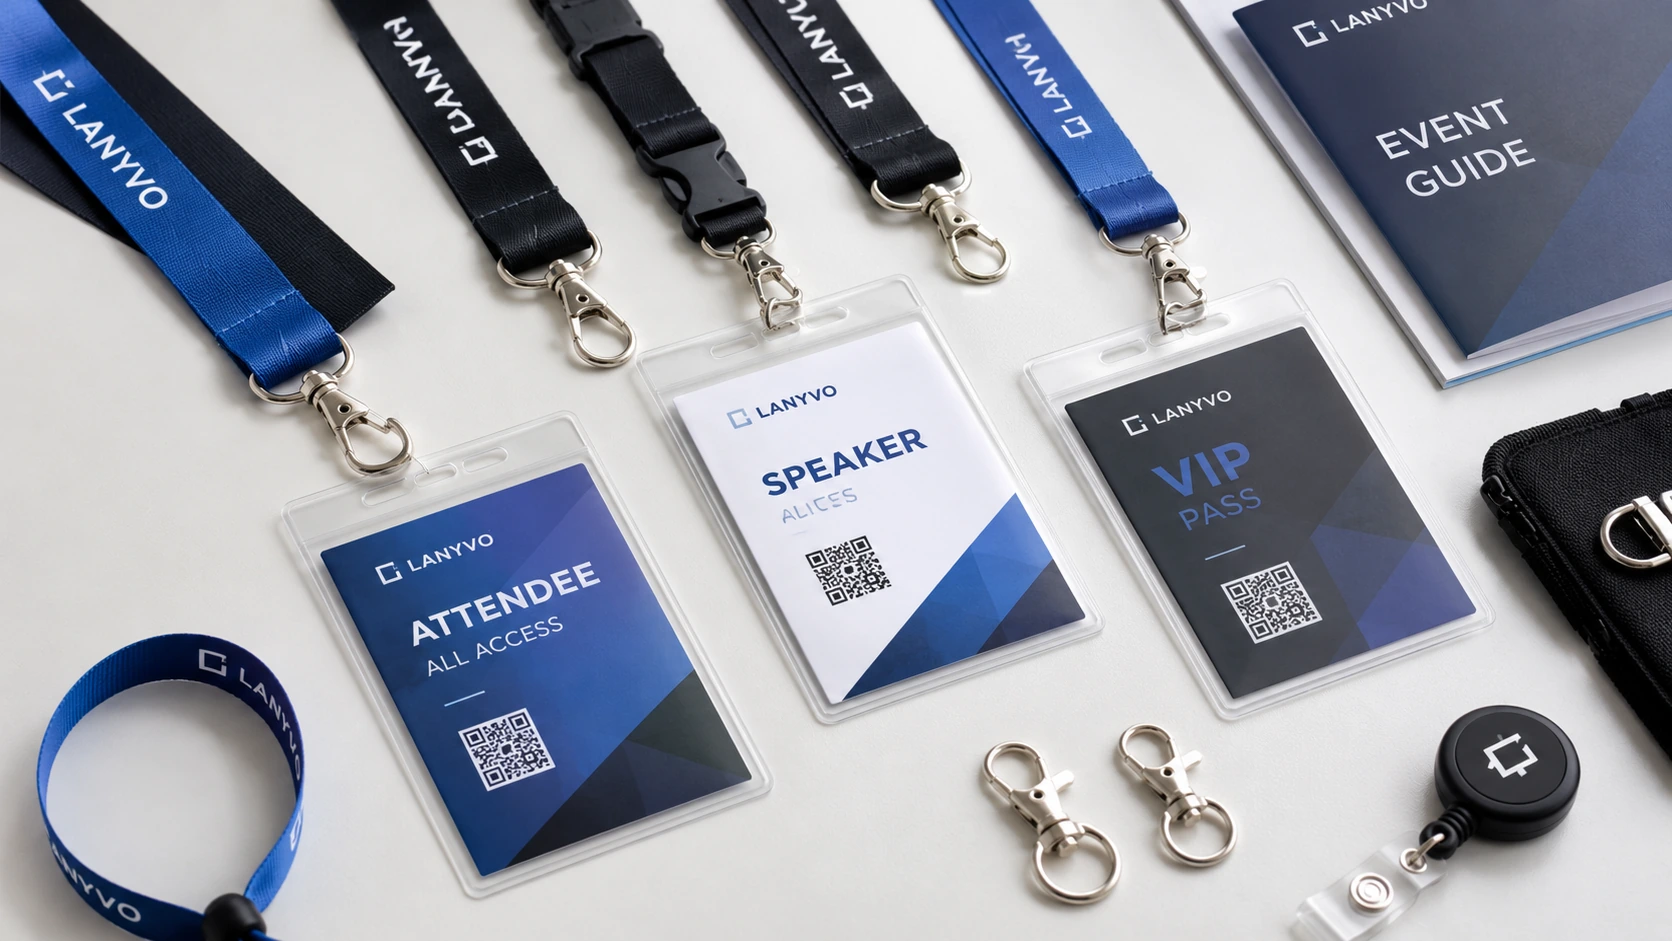
Send the finished card width and height in millimeters or inches. Confirm whether the dimensions describe the card, the holder’s internal pocket or the visible window—these are not always the same.
Use the printable template to record internal pocket size, visible area, orientation, slot position and clip setup.
Badge holder size examples in inches and millimeters
Specify the finished insert width × height first. A holder advertised as “4 × 6” may describe the insert it accepts or its outside dimensions. Ask which measurement the supplier means before approving it. The dimensions below are conversion examples, not a list of LANYVO stock sizes.
| Insert example | Inches | Millimeters | Fit check |
|---|---|---|---|
| Portrait event pass | 3 × 4 in | 76.2 × 101.6 mm | Confirm the pocket accepts the trimmed insert without bending. |
| Larger portrait pass | 4 × 6 in | 101.6 × 152.4 mm | Check pocket depth, visible window and the combined badge weight. |
| Landscape event pass | 6 × 4 in | 152.4 × 101.6 mm | Confirm slot spacing and whether two clips are needed. |
Conversion: 1 inch = 25.4 mm. Measure the physical card after trimming or lamination. Artwork bleed belongs to the printer’s file specification and should not be counted as part of the finished insert. For the larger portrait format, use the dedicated 4 × 6 conference badge guide.
Card size, pocket size and visible window solve different problems
Card size describes what must fit inside. Usable pocket size describes the space available after seams, welds or retaining edges. Visible window describes what attendees and scanners can see. Overall holder dimensions include the surrounding material and attachment area.
For example, an insert that is 101.6 mm wide will not necessarily fit a holder that is 101.6 mm wide on the outside. Request the usable internal width and height, the opening direction and the permitted insert thickness. For rigid holders, confirm the retaining lip or slide-in opening with the actual card. For flexible pockets, include any folded schedule or second insert used at registration.
Keep the attendee name, access role and QR code inside the visible area. Test the final printed credential through the selected holder on the actual scanner or phone. A digital proof alone cannot establish glare, pocket fit or scan reliability.
From measurement to a purchase specification: once you know the insert dimensions and holder slot, compare complete bulk lanyard and badge-holder kits or ID card holders supplied for an existing lanyard. A supplier cannot establish the usable internal pocket size from an outside dimension alone. State the finished badge size, portrait or landscape orientation, quantity per design and delivery destination.
Measurements buyers should provide
| Measurement | What it describes |
|---|---|
| Card width and height | The finished insert or plastic card dimensions |
| Internal holder size | The usable pocket area |
| Visible window | The area not covered by seams or borders |
| Card thickness | Important for rigid holders or multiple inserts |
| Slot position | Determines clip compatibility and balance |
Packing and registration
Clarify whether holders and lanyards should arrive assembled, individually bagged, grouped by role or packed separately for on-site registration.
Approve a complete badge and lanyard sample
Choose portrait or landscape from the credential layout. For wide horizontal passes, compare a balanced double-clip setup; for repeated card presentation, review the clip or reel reach. Confirm holder slot spacing and final badge height with the actual assembly.
- Insert fit: load and remove the finished card without forcing it. Check that the card sits fully inside the intended pocket.
- Readability: inspect the name, role color and QR code with the holder hanging naturally. Keep critical content clear of seams and clips.
- Connection: check the holder slot against the hook or clip. For two slots, record center-to-center spacing and approve both attachment points.
- Wearing position: assess the complete lanyard, hardware and badge together. Strap length alone does not determine the final badge height.
- Packout: decide whether registration needs empty holders, pre-attached sets or role-sorted bundles. Record how replacement cards will be inserted on site.
A usable purchasing brief reads: “Finished insert 4 × 6 in, portrait; please confirm usable pocket size, visible window, two-slot spacing, matching clips and packing for each design quantity.” Add the destination and arrival date. Use the holder measurement template to keep these measurements together, then request a matched lanyard and badge-holder kit.
Frequently asked questions
Are all horizontal badge holders the same size?
No. The internal dimensions, visible window, seam and slot position can vary even when the holder is described as horizontal.
How do we prevent a badge from flipping?
Use a balanced holder, correct clip position or a double-clip setup for wider passes.
Can QR codes be scanned through the holder?
Usually, but the material clarity, seams and printed insert position should be tested in the sample.
Should lanyards and holders be ordered together?
Ordering them as one specification helps confirm compatibility, orientation and final badge height.